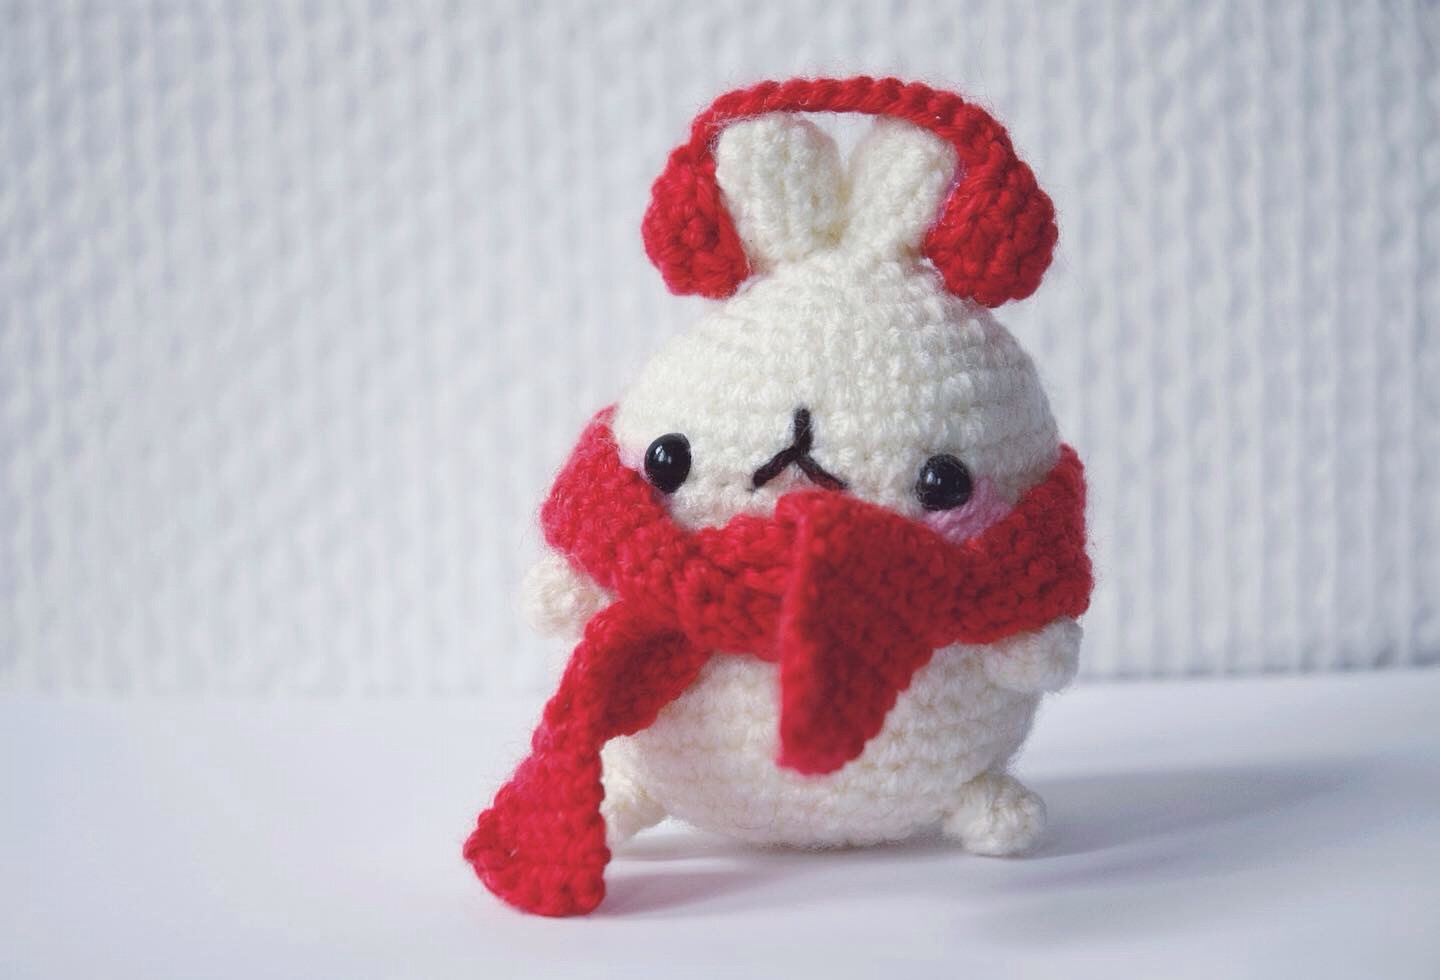
Christmas-Bunny
Yarn strength: 50 gr/133m, DK light-worsted yarn, number 3 (for example Schachenmayr Bravo)
Safety eyes: size 9 -> i recommend to get them in a set with different sizes
Crochet Hook: 4/2.5 mm -> my go to and absolute favourite crochet hooks are these Japanese Tulip Etimo Rose crochet hooks. I use them all the time!
Yarn-Needle -> i recommend get them in several sizes, with a blunt tip (so you don't split the yarn). You will need them very often in amigurumi: the bigger ones for sewing your pieces together and the smaller ones are perfect for embroidery or sewing smaller pieces.
Stitch markers -> i use these
Scissors or cutter -> if you prefer scissors i can really recommend these beautiful high-quality, vintage scissors
Stuffing -> i use this poly-fil stuffing, i recommend getting a larger amount, because in my experience it's used up fairly quickly
in white, starting from head
R1: 6 sc into magic ring (6)
R2: Inc into every stitch (12)
R3: (1 sc, inc) x 6 (18)
R4: (2 sc, inc) x 6 (24)
R5: (3 sc, inc) x 6 (30)
R6: (4 sc, inc) x 6 (36)
R7: (5 sc, inc) x 6 (42)
R8-18: 42 sc around
R19: (invdec, 5 sc) x 6 (36)
R20: (invdec, 4 sc) x 6 (30)
R21: (invdec, 3 sc) x 6 (24)
Add safety eyes in size 9 or sew eyes with black yarn on later. Stuff the body.
R22: (invdec, 2 sc) x 6 (18)
R23: (invdec, 1 sc) x 6 (12)
R24: (invdec) x 6 (6)
Now with rosé yarn sew on the cheeks below the eyes.
*invisible decrease, see video below on how to do this:
with white yarn
R1: 6 sc in magic ring (6)
R2: (inc, 2 sc) x 2 (8)
R3-4: (8 sc around) (8)
R5: invdec, 6 sc (7)
Sew ears to the head.
Feet (make 4)
& Tail (make 1)
with white yarn
R1: 6 sc in magic ring (6)
R2: sc around (12)
Sew to the body.
With black yarn sew nose on as seen in the picture.
Ear Warmers
With red yarn
R1: 6 sc into magic ring (6)
R2: Inc 1 into every stitch (12)
R3: (invdec, 1 sc) 4 x (8)
Repeat for other one.
For the band ch 12, 1 ch turn and 12 sc beginning in second ch from hook. Sew band onto ear warmers. Stuff ear warmers and sew or glue to the sides of the ears.
Scarf
With red yarn
R1: 5 ch, turn (5)
R2: 1 ch, sc in next 5 stitches (5), turn

R3: 1 sc in next 5 stitches (5)
I prefer not to do a ch at the beginning of each row, except for R2.
Repeat for 83 rows.
Fringes (optional)
Cut 4 pieces of red yarn in double the length you want them to be on the scarf. Go with hook in first stitch at the end of scarf. Then pull yarn at it’s middle through loop. Pick up both yarn ends with hook and pull through loop. That’s how the yarn Is knotted onto the scarf. Repeat 3 times.