How to: Make an Amigurumi-Ball 
In this tutorial i explain you the basic principle behind every ball-shape (for example heads) in amigurumi.
We start with the number of rounds we increase.
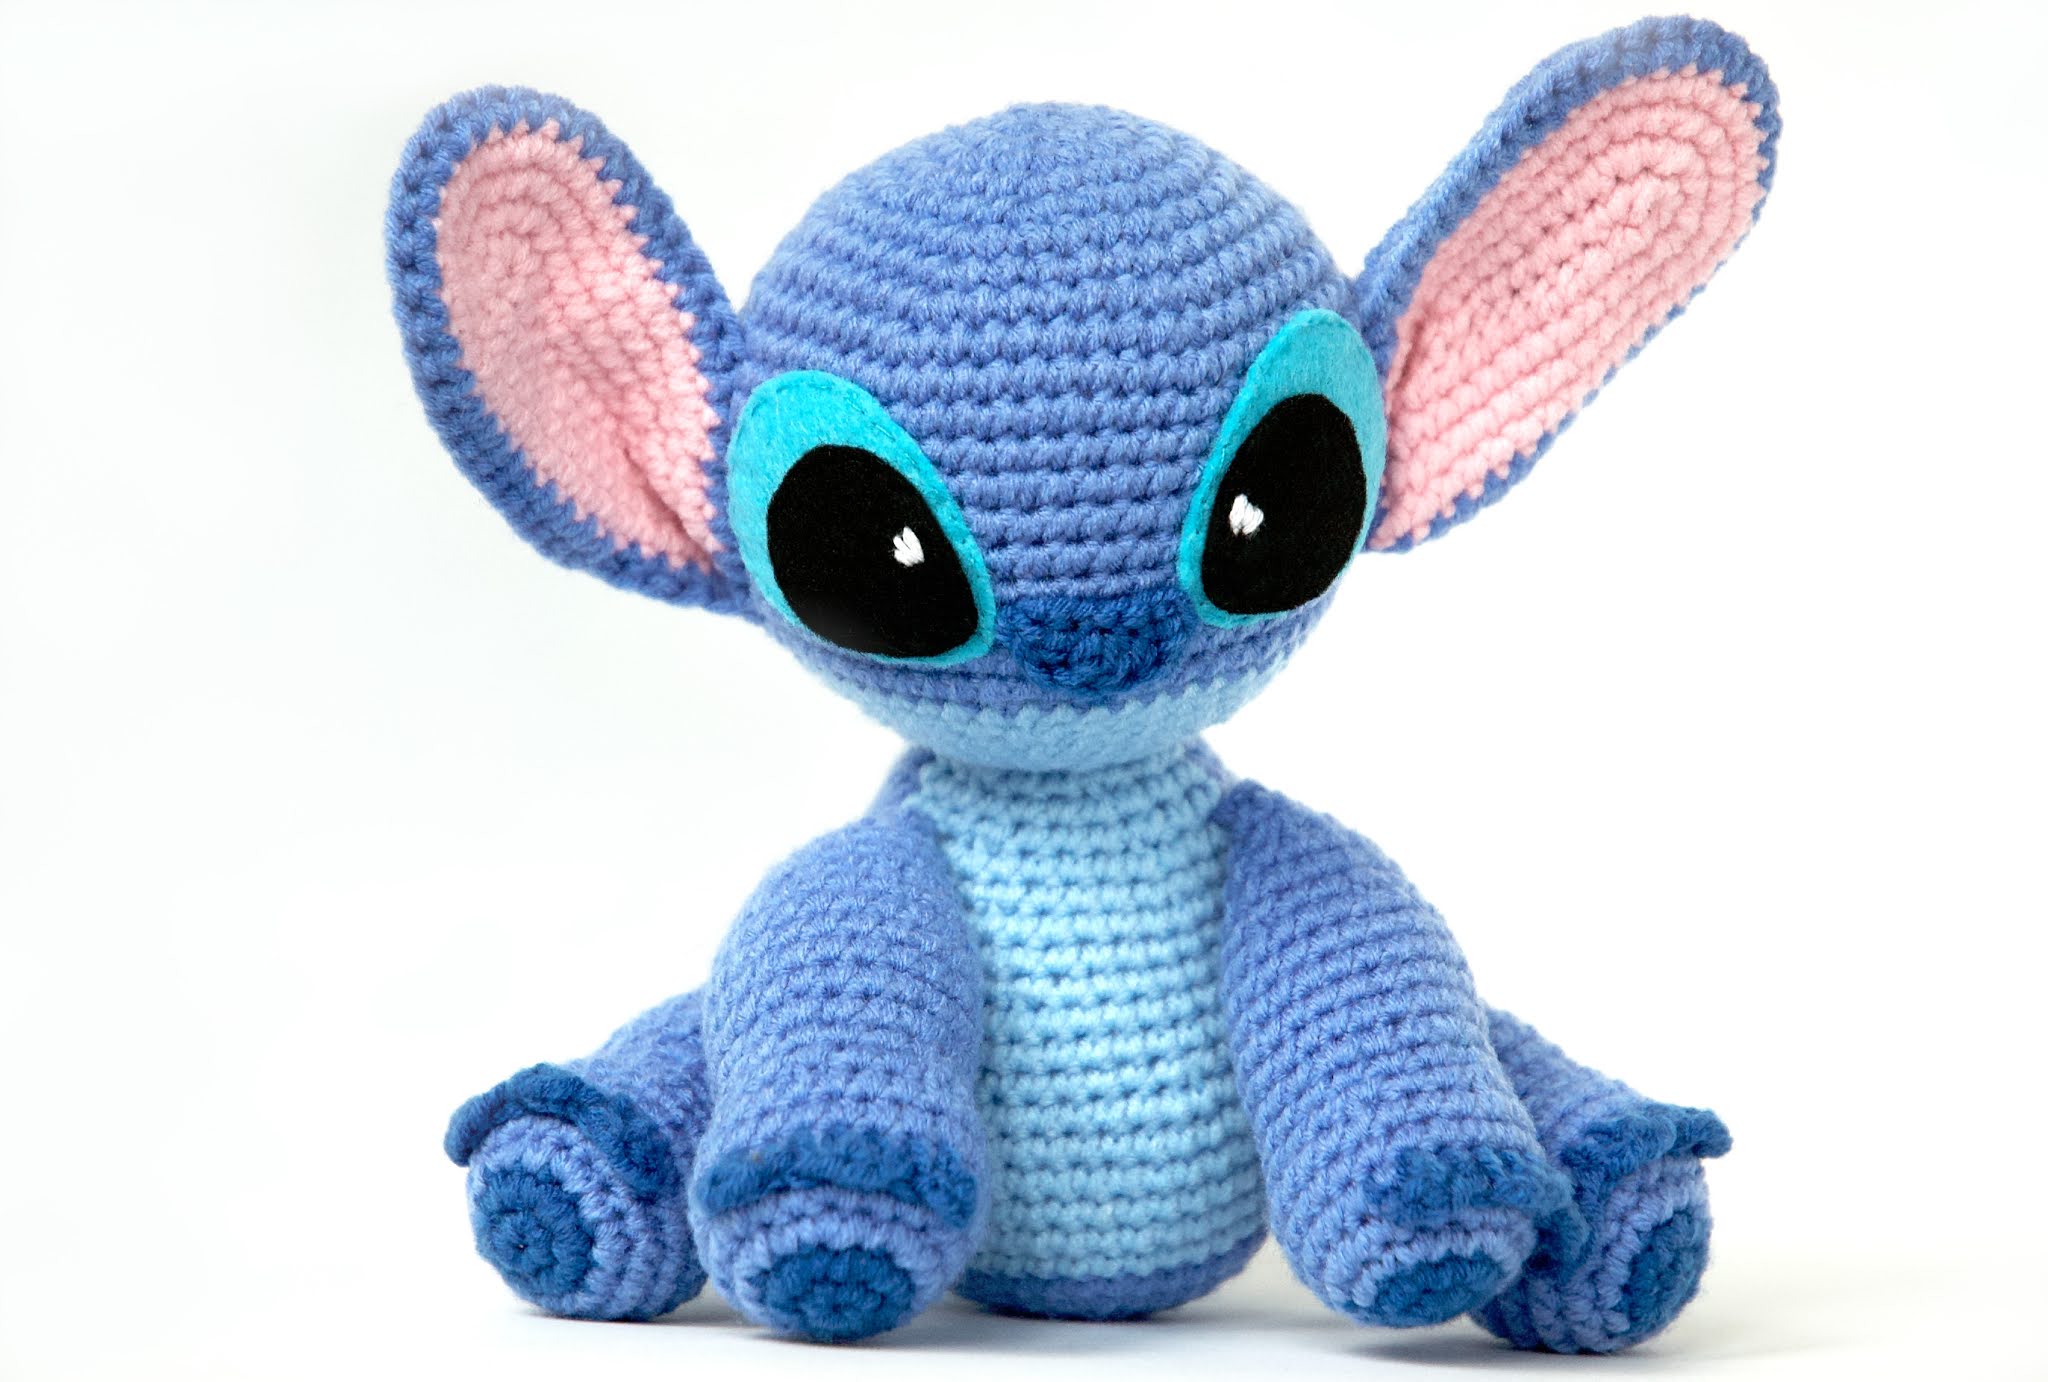
For this ball in the picture we increase for 5 rounds, so we have 30 stitches in the last round.
R1: 6 sc in magic ring (6)
R2: 2 sc in each stitch around (12)
R3: (1 sc, inc) x 6 (18)
R4: (2 sc, inc) x 6 (24)
R5: (3 sc, inc) x 6 (30)

Now we have this 2D circle:

How many rounds do we have to add now, to make a perfectly round 3D ball?
This rule counts for every ball:
We repeat the number of rounds we increased -> in our case we increased to round 5 (30 stitches). And then add one more round.
5 rounds + 1 round = 6 rounds of 30 stitches
This can be made for any size of ball. When you increased for example to 48 sc (8 rounds) you repeat 48 sc for 9 rounds.
For our ball we now make R6-11 (6 rounds): 1 sc in every stitch around (30 sc)
See photo below:

Now the last question is, how to finish the ball? How many decreases and where?
The DEcrease also depends on the number of rounds we initially INcreased. So in our case it was 5 rounds.
This means, that in the next round we have to bind off stitches 4 and 5(!) together.
So the next rounds we decrease like this:
R12: (3 sc, invdec) x 6 (24)
R13: (2 sc, invdec) x 6 (18)
R14: (1 sc, invdec) x 6 (12)
R15: invdec x 6 (6)
This can also be made for a ball of any size.
For example when we increase for 8 rounds, we sc 6, and bind off 7 and 8(!). In the next round sc 5, we bind of 6 and 7(!) and so forth.

To close the last round of of your ball see this video below:
Congratulations dear crocheter!
Now you know how to make amigurumi ball shapes in any size! You can save this blog-post iny your bookmarks and look it up for your future projects!